Wednesday, March 26, 2014

Wolf River Nearing Ice Out


With one of the coldest winters on record now officially behind us this spring has started off right where our frigid winter left off!  Most of March has seen below average temperatures and a lack of rain, which has caused our snow pack to slowly melt while not swelling the Wolf River and causing the ice to break up.  Couple this with the thicker than usual ice found along the Wolf River and it’s not hard to believe that there 
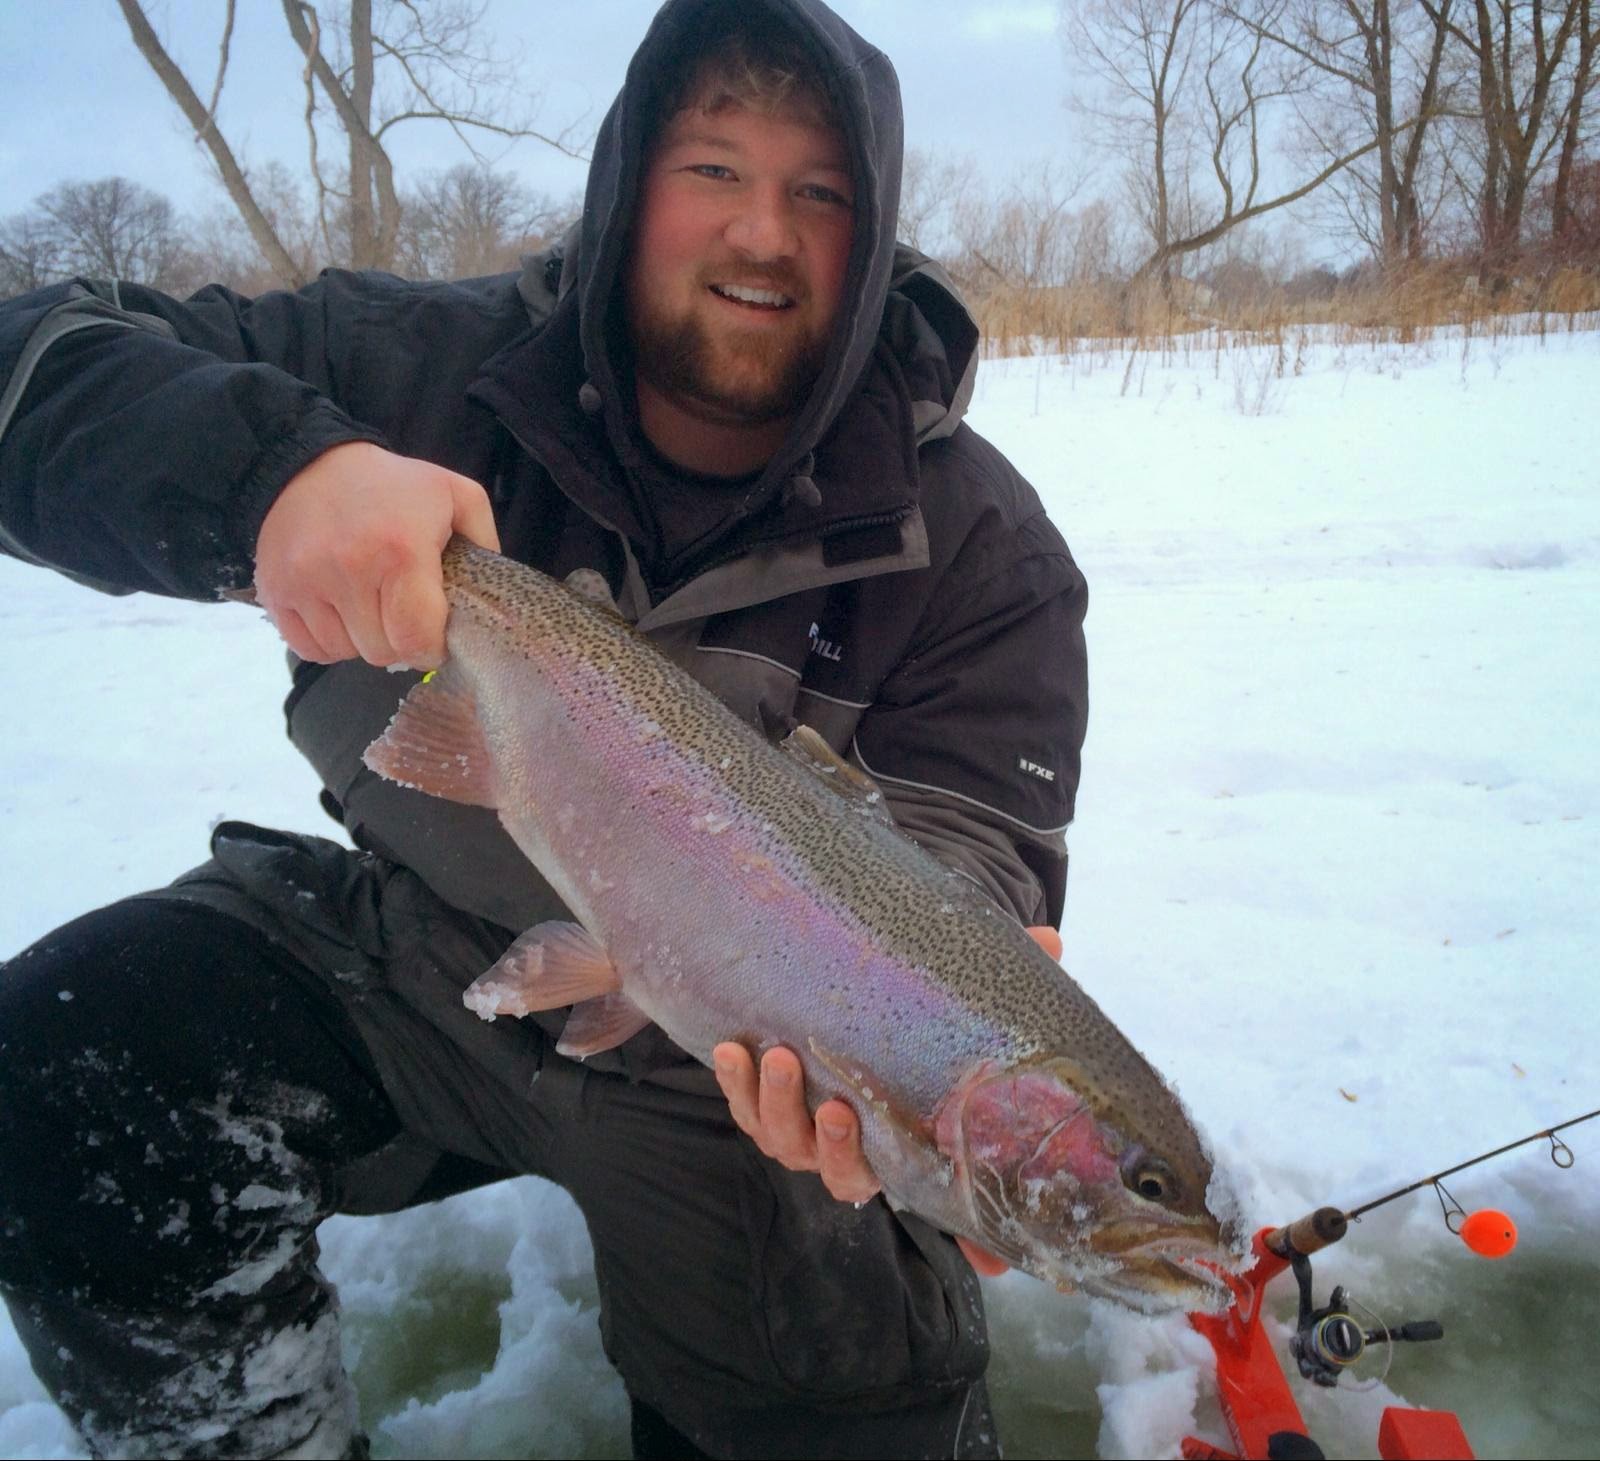
are still guys ice fishing the river!

Some of the high current areas on sharp bends are opening up along the river, which is a good sign that the current is starting to eat away at the ice from underneath.  The sun is also eating away at the top layer of ice, making it honeycombed and weak.  At the rate we have been going, the ice would probably hold on for a couple weeks yet.

Luckily, the upcoming weather forecast may have just what the doctor ordered to get the ice to start breaking up and heading downriver.  The area is expected to receive upwards of 0.50” of rain on Thursday, which will hopefully bring current and water levels up enough to start breaking up the stubborn ice.

Once the ice does finally let loose, the river will become a dangerous place, as trees and other debris will likely be swept downriver with the ice.  Even though spring fever has gotten to almost everyone this year, waiting for the ice to clear the river, which may take a few days, is highly recommended as fishing during heavy ice flows is both dangerous and unproductive. 

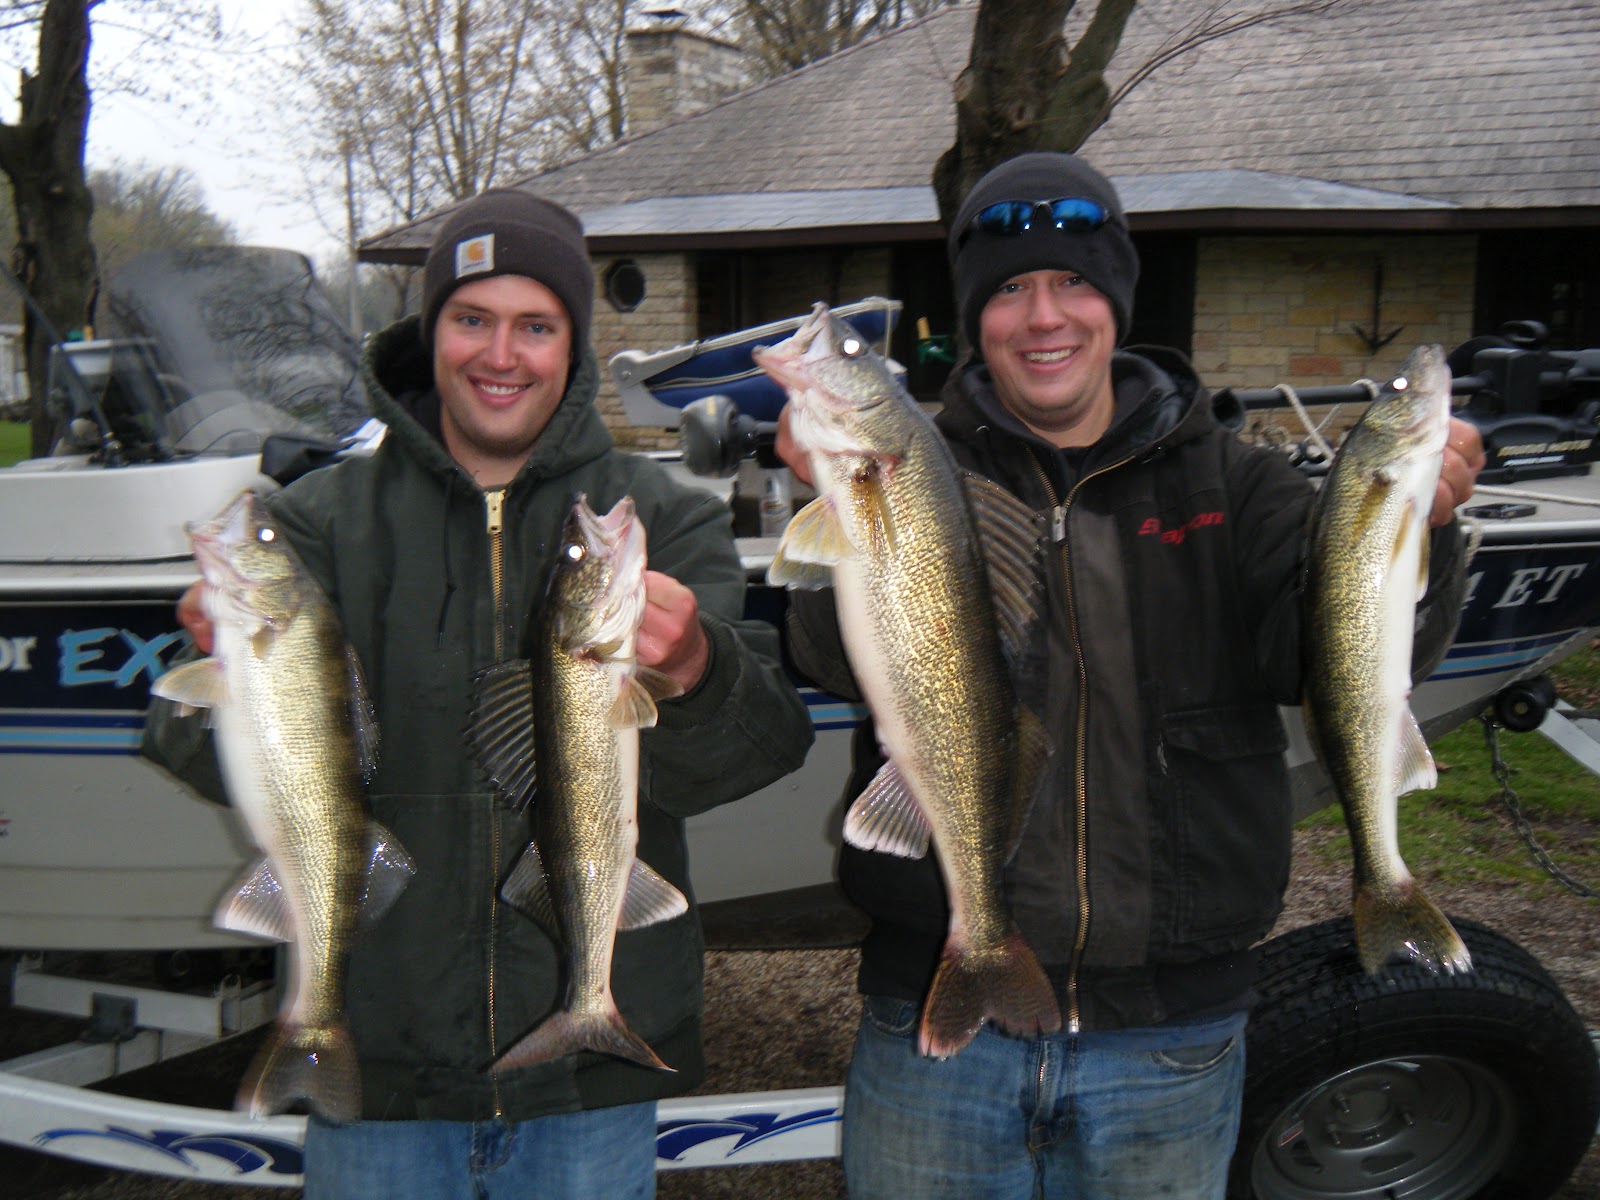
Now is a great time to get your boat and tackle prepared for a day of fishing on the Wolf River.  Charge those batteries, make sure the anchors are in the boat, check tire pressure on your trailer,  lube those wheel bearings, check your jig inventory, re-spool reels with fresh line, and make sure you have a Minnow net as its never fun reaching into a frigid pail of Minnows in the spring!

Another thing to help with Spring Fever is the Wolf RiverCam.  There are multiple live cameras that are in the Wolf River showing fish movements, which is really neat to see.  These cameras can help pass the time, but may also tempt you into hooking the boat up and going fishing as countless Walleyes fly by the cams!   As of today, I have not yet seen a fish on the cameras, but expect this to change in the near future as water temperatures begin creeping upwards once the ice goes out!


Before we know it, the Wolf River will be littered with boats all hoping to catch a few Walleyes and enjoy being back on the water after a long winter!  A little preparation now will lead to a smooth first fishing trip on the Wolf River that can be spent fishing rather than working out the kinks.

Saturday, March 22, 2014

Late Ice Steelhead

The Automatic Fisherman is IDEAL for catching Trout through the ice!

It has been one of the coldest winters on record, which has blessed us with some of the thickest ice conditions we have ever seen on the tributaries to Lake Michigan.  For those who have ventured onto the ice in search of Trout, there have been some fish around but nothing spectacular.  As temperatures start to rise and melt off some of our snowpack expect fresh Steelhead to enter the tributaries to carry out their annual spring spawning run.


With there being so much ice on the tributaries this year, expect a good amount of Steelhead to come in under the ice, which will likely translate into some phenomenal late ice fishing!  However, with late ice on rivers there is always risk involved.  Ice conditions can deteriorate rapidly as runoff begins to increase the current which begins eating away at the ice from underneath.  Shorelines and high current areas are the first to deteriorate so be especially careful in these areas!  Safety is paramount at this time of the year, fishing alone is not recommended unless you are aware of the ice conditions.


There are lots of portions of the tributaries that will hold fish at this time of the year including; lower portions near the lake, barriers restricting fish movement, deep holes, deeper runs with good current, and especially areas where runoff is entering the tributary.   Being mobile and trying multiple spots in a day will increase your chances of finding the spots holding the most fish.


When fishing for Steelhead at this time of the year, spawn sacs and Shrimp are the preferred baits, and Automatic Fishermen are the preferred tip ups to use to catch these finicky fish.  Setting your tip ups so that your bait is within a foot of the bottom will catch the most fish, as these Steelhead tend to swim up and downstream near bottom in search of an easy meal.  
You always have a chance at a bonus late ice Brown Trout


Paying attention to how aggressive the fish are on a particular day can also yield more fish.  If you are missing fish on your Automatic Fishermen, try giving the fish more line before allowing the Automatic Fisherman to trip by pulling the bobber all the way down to the ice when setting it up.  This has worked for finicky fish in the past, as these fish will eventually take the bait and start to swim off.  As this happens, the hook gets firmly set into their mouths!


When using spawn sacs, water clarity is a big thing to pay attention to.  In clear water, smaller sacs tied in natural netting like peach and white will work well, while larger sacs tied in brighter netting like pink or chartreuse will work best in murky water.  Cured eggs will also work better than natural eggs when there is good current, as the cured eggs tend to milk scent downriver for longer than the natural eggs will.  Pautzke’s Borax O Fire has been my personal favorite, as it really seems to catch fish!


Take advantage of the great ice conditions Mother Nature has given us this year to capitalize on some late ice Steelhead!  Remember safety first, go with a friend, and always be prepared to fall through.  Stay mobile, experiment with different spawn sacs, and pay attention to how aggressive the fish are on a given day and you will ice more Steelhead!


Saturday, March 8, 2014

A Guide to Tying Your Own Spinners


Night crawler harnesses, also known as spinners have become one of the most popular and productive methods used while trolling for Walleyes throughout the Midwest.  Spinners can be purchased from your local sporting goods store pre-tied, but these pre-tied spinners are both expensive and lack the necessary customization for specific fishing conditions.  Once you understand how easy it actually is to tie your own spinners, you will never again even consider buying a pre-tied one ever again!


There are several things you will need to get started, but once you purchase these items you will be equipped to tie your own spinners for the foreseeable future! 


For starters, you will need a spool of line to tie spinners with.  I have experimented with a variety of different lines, and have determined that Seaguar Fluorocarbon holds up better than anything else on the market today.  I prefer the InvisX when trolling open water, while the AbrazX works great when trolling along the bottom and through weeds and brush as it is incredibly resistant to abrasion from rocks and even Zebra Mussels!  When trolling spinners I generally run 15 pound test, but there are times where I will run as light as 10 pound test.

You will also need hooks for your spinners.  Octopus hooks are designed for spinners, and are my preferred hook type when pulling spinners.  Small treble hooks can also be used as the back hook on your spinners, but I only suggest using trebles when trolling open water, as trebles are much more likely to get caught up in weeds or snagged on bottom debris.  Gamakatsu makes the highest quality hook for the price on the market, which is why I exclusively run them on my spinners.  Many other brands of hooks will have the tip bend over or round off after extended use, while the Gamakatsu’s maintain their sharpness through it all.  Hook size is another variable to consider.  When targeting large Walleyes I like to run red #2 hooks, while I prefer #4 and #6 hooks when targeting eating sized fish.


Beads are the next component to a spinner.  There are many different bead options out there today, so experimentation is key to finding what colors, materials, and sizes work best for each situation.  I suggest purchasing a few of your favorite fish catching colors in a couple different sizes to start, then pur chase more as you determine what works for you.  Big Eye Custom Lures has a great selection of great fish catching colors in multiple sizes that have proven themselves as some of the best money can buy.


 Clevises are the next component that is needed to attach the spinner blade to the harness.  There are two types of clevises, fixed and quick change.  The fixed clevises are generally metal, and don’t allow the angler to change spinner blades without cutting the line and re-tying.  Quick change clevises are plastic, and have a small opening on the clevis that allows anglers to simply snap blades on and off.  I highly recommend the quick change clevises, as being able to change blades often is a huge component to catching more fish!

Barrel Swivels are also recommended for tying your own spinners.  I also recommend using stainless steel barrel swivels, as they will hold up much better than the cheaper swivels.  The barrel swivel is used to eliminate line twist, and also doubles as a quick change option rather than tying the spinner directly to your line.


Blades are the final component to complete your custom spinner, and potentially the most important.  Spinner blades come in a variety of colors, sizes, and shapes.  There are countless blade manufacturers today, but there are a select few that fill my tackle boxes.  Northland Tackle has some of the most realistic blades on the market, with their Baitfish Series, while Tommy Harris Blades offer the largest variety of high quality custom blades you will find.  You cannot go wrong running either one of these companies’ blades!


Now that you have all of the components necessary to tie your own spinners, let’s get to work!  Begin by cutting a 6’ length of line, then thread your octopus hook onto the line and tie a snell knot.  Slide your next hook onto the line and space it approximately 2.5”-3” from the first hook.  Tie this hook onto the line also.  You are now ready to add beads to make the spinner come to life!  Add anywhere from 4-8 beads depending on size and preference, once completed add a quick change clevis.  You may also add a bead or two above the clevis if desired.  Once you have your spinner looking good, it’s time to tie a barrel swivel on the end to finish the spinner.  Once completed, you now have your first finished spinner, easier than you though huh?  You can now add a blade to the clevis if desired and are ready for action!

Friday, March 7, 2014

Baked Walleye Recipe


For many years growing up, fish fry’s consisted of deep frying fish in a variety of different batters.  What stayed the same was the means of cooking it!  Our fish was pan fried when it was just our family; otherwise it was deep fried when we had larger get togethers.  Today, I still love to eat Walleyes, but have found a much healthier way of enjoying these great eating fish.

Although it may not be the most popular way to eat Walleye, baking Walleye fillets is worth giving a shot as it is both healthy and tasty!  I have experimented a bit with recipes in the past, and have found that you really can’t go wrong with a simple Panko recipe.


There are only a few simple ingredients necessary for this recipe, most of which you probably already have in your cupboards. 

Ingredients
Flour
Lemon Pepper Panko (Or Plain)
Cajun Shore Lunch (Or Plain)
1 well beaten Egg
Cooking Spray
Whole Walleye Fillets


Start with the desired amount of Walleye Fillets, preferably whole but this isn’t necessary.  Clean and de-bone fillets, then coat them in flour.  Once coated with flour, cover the fillets with egg mixture before placing into the Panko/Shore Lunch mixture.  I like to use a 75% Panko to 25% Shore Lunch ratio to attain some kick and lots of crunch. 


Once each fillet is coated with a generous amount of breading place onto a sprayed baking pan and put into a pre-heated oven at 375°.  After 10-12 minute flip each fillet over and place back into oven.  At this time I like to crank the heat up to 400° to get a good crisp on both sides of the fillets.  After another 5-7 minutes remove the fillets from the oven and enjoy!  Give this simple recipe a shot and make sure to let me know what you think!